
Annie's studio
Unwrap
First I need to select two geometry shapes that are assembled. I want to pick two shapes that are similar because it makes them look better. The first one I chose was cylindrical, and cylindrical is a shape that designers often use in industrial design houses. The other shape I chose is the angular cone and there are some similarities between the two geometric shapes, for example, the shapes that are round at the bottom are symmetric.

When I assembled the two geometries I first changed the area of the two circles above and below the cylinder and then adjusted their heights so that they were similar in height. Finally, I put the small side at the bottom of the cylinder on top of the pyramid to adjust the pyramid's angle and combine it into my 3D shape.


Make a 2D surface.
Next, I need to expand the 3D graphics to get a 2D surface. When making 2D surfaces, I always couldn't find the best choice of clipping edges when unwrapping UV images. This result in many times the expansion graph is not standard. In addition, when I exported the UV image to PS for adjustment, I did not notice that I did not have a problem with graphic proportion, so I found the volume of the corner cone was slightly larger when CUTTING and assembling after printing.
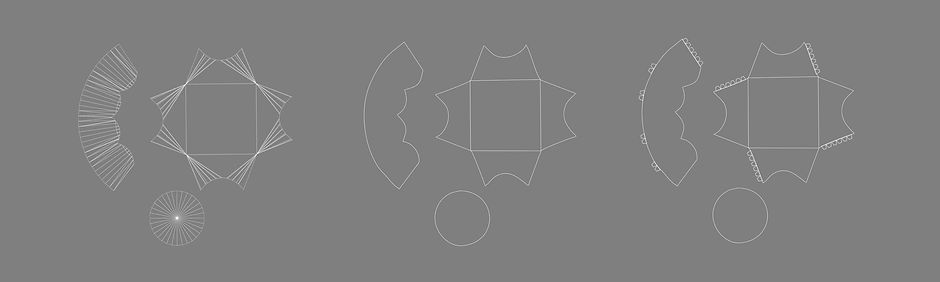
Then I printed the 2D surface and reassembled it into a 3D solid shape by cutting and splicing.


Making concept drawings
Through graphic splicing and assembly, I have a better understanding of the structure and perspective relationship of the three-dimensional graphics I made. Next, I made ten different concept drawings that guarantee many of the everyday things that people often come into contact with. I also made 3D renderings of several of them by changing the texture and shadow of the previous 3D stereograms.


